Process Optimization
5 Important variables for Abrasive Jet Machining
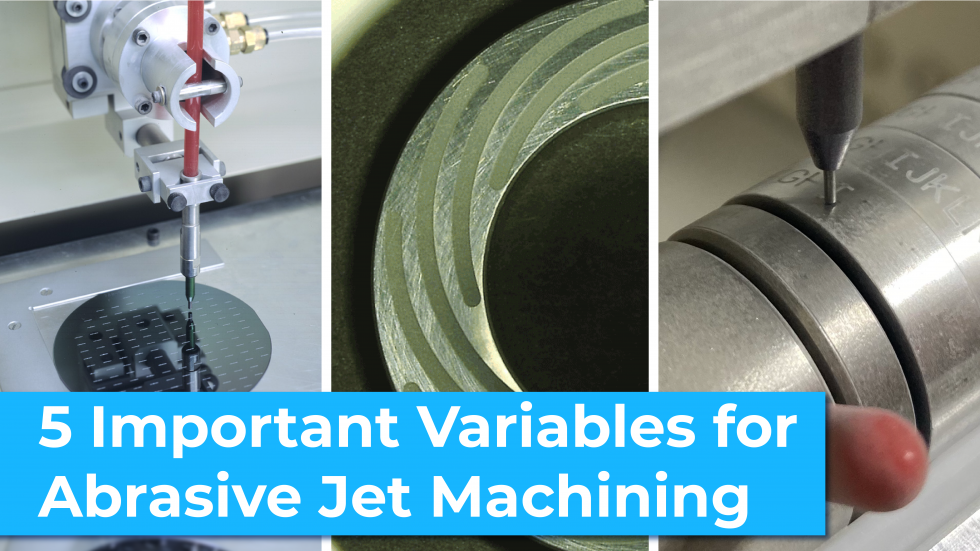
Using MicroBlasting to cut or etch a part (a process also known as controlled erosion) is a great method to machine many precision parts, from drilling holes in ceramic substrates to cutting slots in fragile silicon and glass wafers. MicroBlasting is “shockless,” generating neither heat nor vibration, meaning microcracks are less likely to form and damage part integrity.
How can one process work for such a wide range of applications? By carefully controlling a few key factors.
Know the material you are cutting
Both brittle and ductile materials can be cut and etched with MicroBlasting – they just use different strategies.
Brittle material
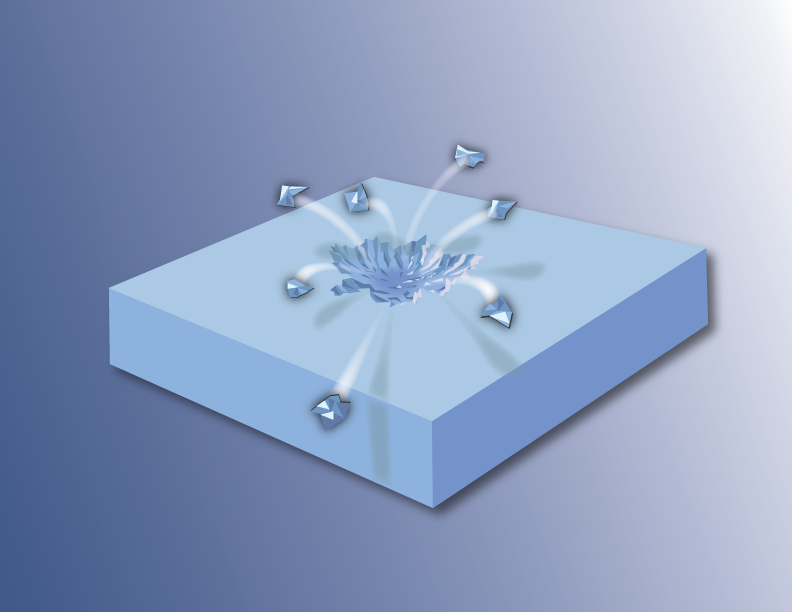
MicroBlasting is an excellent choice when cutting and etching brittle material because it’s a quick process. Nearly all of the deposited abrasive energy goes into breaking the material bonds holding the surface together.
Ductile
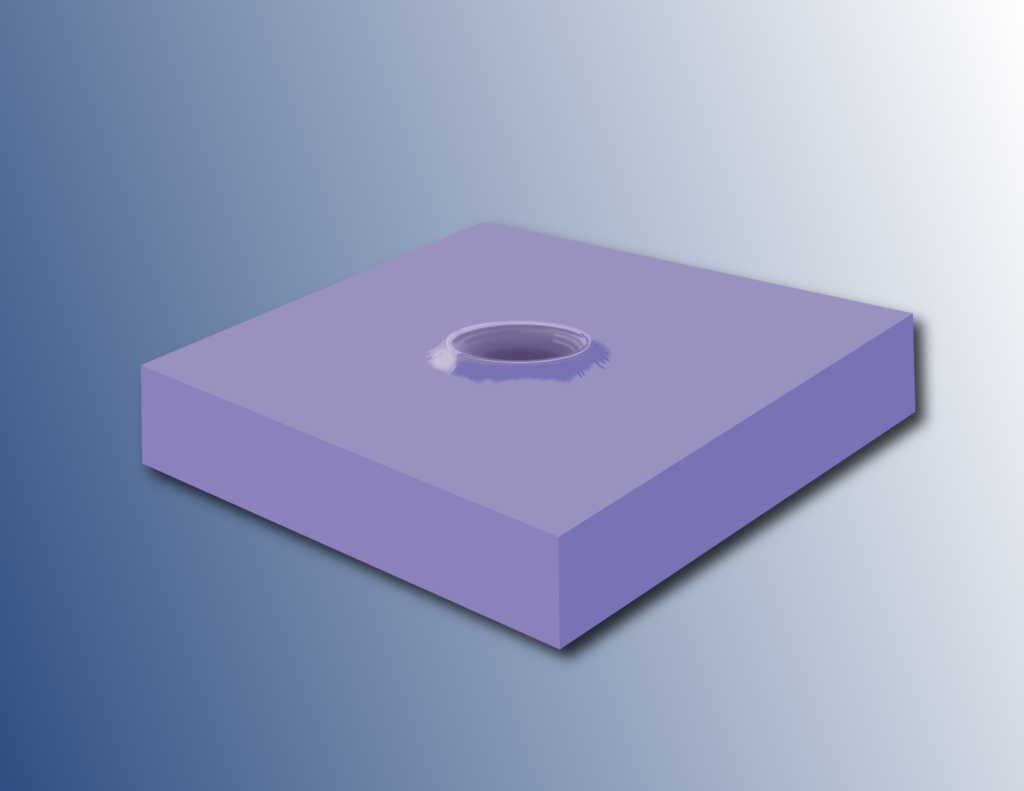
MicroBlasting works well with ductile materials too, though the process can be slower than brittle parts with similar hardness. The resulting finish on a ductile material is rougher than on a brittle material because the impact of the abrasive causes the edges of each surface crater to smoosh upward.
Measurements are Key
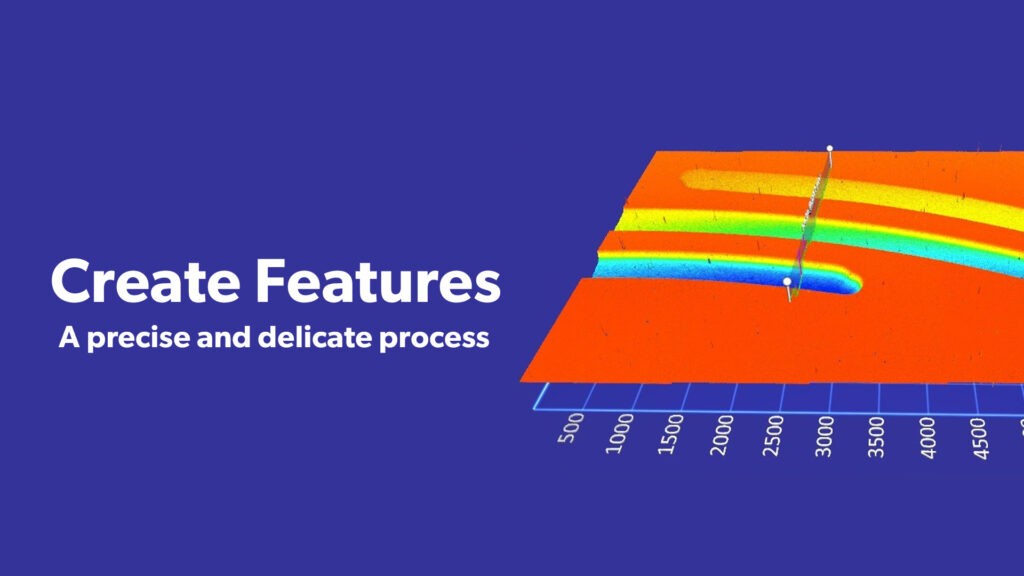
MicroBlasting is so controllable, you can etch features with varying depths and sharp walls – but maintaining accurate measurements are crucial to achieving these results. There are a few ways to make these measurements:
Weight loss
Measuring via weight loss can be done in one of two ways. The first method is to weigh the part to determine how much material has been eroded. This method is great if the part is small and will not use much abrasive. The second is to weigh the blaster to measure how much abrasive has been spent. This method is better if a lot of abrasive will be used. Hydrodynamic seals are processed in this manner.
Timed Blasts
You can figure out the amount of time it takes to etch a specific material to your specifications pretty easily. First, experiment with different blast durations and measure the resultant depths. Then continue to experiment until you find the required duration. Just remember to keep your abrasive type, velocity, and quantity consistent, as these factors can also affect the depth of your cut (we’ll talk more about these later on). This method works best for very consistent parts, like wafers and surfaces for microfluidics.
Other Methods
Using separate measurement tools works especially well for depth control when creating pockets or trenches in a part. Some examples of processes we have used are listed below:
| Micrometer | Stylus Profilometer | Laser Triangulation | Microscope and Interferometer | |
|---|---|---|---|---|
| Tools we use | Mitutoyo | Mitutoyo SJ-201 with Surfpak-SJ software (2um tip radius with 0.75 mN downforce) | Keyence LK-H008W sensor and LK-G5001 controller (20um x 550um beam spot size) | Keyence VK-9700 and Zygo NewView 7000 series (5x and 50x lens) |
| Resolution | 10 nm | 5 nm | .1 nm | |
| Real-World Depth Measurement | 1000 nm | 1000 nm | 100 nm | 1000 nm |
| Price | $200 | $2500 for profilometer $2500 for software | $7000 for sensor $3000 for controller | Typical system cost aprox. $100,000 |
Create a steady Stream
As mentioned above, three abrasive factors determine how a material erodes when blasted. Finding the best combinations for your application (and keeping them consistent) is critical to repeatable results.

Abrasive Velocity
Typical particle velocities during controlled erosion applications are 150-225 m/s (492-739 ft/s), based on air pressure, nozzle geometry, and blast distance from the nozzle to the part. Velocity is controlled by the nozzle size, blast pressure, and distance from the nozzle to target. The simplest way to speed up your process is to dial up the pressure, but that could result in less precise depth control, leading to unevenness in the final surface. Worse, if you are using a mask, you could potentially destroy it before the process is complete.
Abrasive Quantity
Most applications benefit from the combination of a rich abrasive stream and fast nozzle speed with multiple passes
MicroBlasting usually takes 20-60 seconds per square inch of material blasted per pass. Most applications benefit from running the nozzle as fast as possible. Doing so prevents damage to masking material and provides better depth control per pass. Cutting deep channels or holes benefits from a leaner abrasive stream. Too much spent abrasive in the hole prevents new cutting action. When cutting or etching a part, less is more!
Abrasive type
One of the most common abrasives used in cutting and etching applications is aluminum oxide. Being only slightly softer than diamond it cuts effectively for both brittle and ductile substrates. For very soft materials, like polymers, sodium bicarbonate is a better choice. It is able to transfer more cutting energy into the substrate.
The size of the particles is also important. The advantage of using a larger abrasive is an increase in material removal rates. The disadvantage is that it provides less depth control, increased surface roughness, and a less distinct transition at the edge of the blasted area.
The most common abrasive we use for etching ceramic wafers is 17.5 micron aluminum oxide. The finished RA is 0.15-0.3µ (or 5.9-11.8µin).
Is masking required?
Most cutting and etching applications use a mask, but sometimes a part can be directly machined. Knowing when you need to use a mask and when you can go without one is crucial.
Direct Machined
Direct machining is best when removing large, simple sections of material. A small nozzle and accurate parts-handling capabilities work together to cut a pattern into the substrate. The focused abrasive stream prevents overspray, eliminating the need for a mask, and reducing abrasive consumption.
Masked
Masked machining works well with applications that have many small features. To cut or etch a part using a mask, use a metal or polymer photo-resist material to expose only the areas that require blasting. Then, sweep the nozzle back and forth over the entire mask to erode fine layers of the exposed surface.
Keep in Control
Consistent results require consistent blasting processes. While manual systems work fine for applications with low volume or less rigid tolerances, automated systems perform the vast majority of cutting and etching applications. For example, to create end effectors in semiconductor parts, small dots are masked while the rest is eroded away, leaving pillars. Creating features this precise are only possible through automation. By automating the parts-handling component of the blasting system, tight tolerances can be achieved—in some applications, as tight as 0.5µ.
Whether you are using an automated or manual system, the most important way to achieve repeatable results is by keeping all your variables constant. We look forward to helping you determine the best MicroBlasting system for your application!
