Maintenance & Troubleshooting
5 Ways to Break Your Blaster
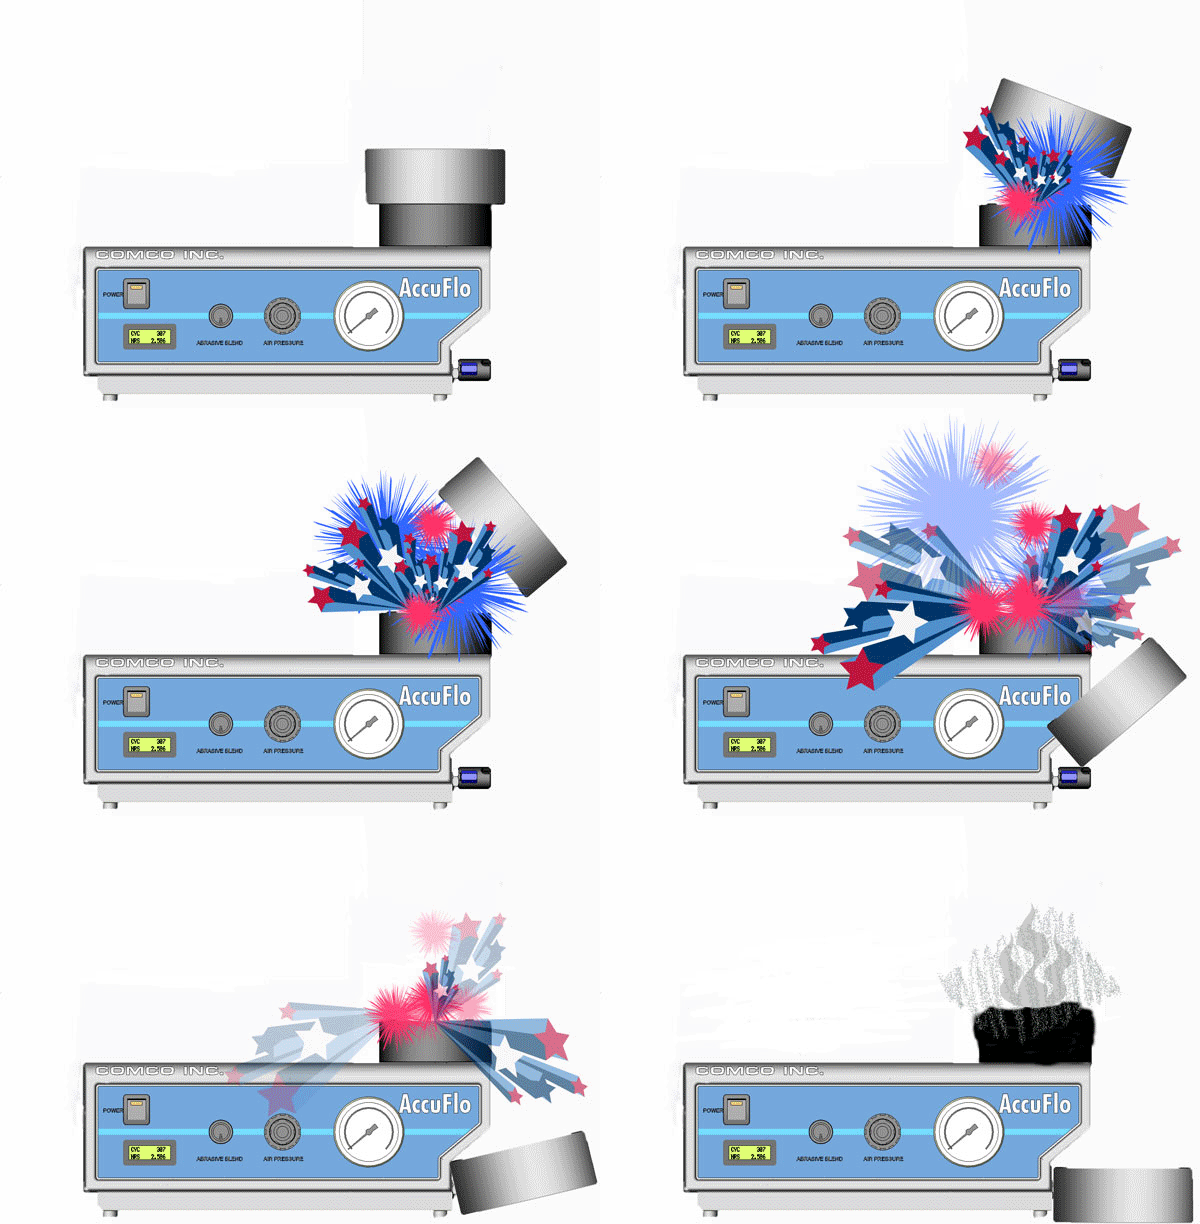
There are many ways to break your Comco blaster–some quite explosive! But if you want to keep your blaster humming along, you should know the common operator mistakes that lead to unplanned and sometimes costly repairs.
Here are the 5 ways most customers break their blasters.
1. Blast without a nozzle.
We get it. It’s easy to equate your blaster’s abrasive hose with a garden hose. If you want to cover a wide swath of material or douse a part surface in abrasive, it seems logical to remove the nozzle and blast away.
However, the nozzle on a Comco blaster does more than focus and funnel the abrasive stream, it helps keep abrasive moving at a consistent and regulated pace throughout the machine. Removing the nozzle increases the velocity of the abrasive stream inside the blaster. The resulting surge is hard to control both inside and outside of the blaster.
Potential Damage
Abrasive moving at high velocities inside the blaster speeds up wear and tear on the handpiece threads, the abrasive hose, and the PowderGate or pinch valve.
What to do instead?
Use a larger tank orifice and potentially a larger nozzle. Consult our Sales Team to get the right configuration. Call 1-818-841-5500 or sales@comcoinc.com.
2. Blast without a tank orifice.
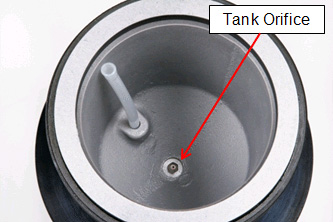
This is another shortcut we’ve seen operators take to increase coverage on the targeted part. The opening at that bottom of the abrasive tank should always be smaller than the nozzle. Removing the tank orifice causes abrasive to flood the mixing chamber, wearing down the exposed threads at the bottom of the tank. This particle surge slows the abrasive stream and keeps the PowderGate valve from closing properly. All in all, blasting without a tank orifice makes process control impossible.
Potential Damage
Again, unplanned maintenance and downtime. Your blaster will probably need a new abrasive tank and a new Powdergate valve. It’s also inefficient as it wastes abrasive. Abrasive can’t do its work when the stream is that crowded.
What to do instead?
Use a larger tank orifice. Read the post: “Using the right tank orifice?” and contact Customer Service at 1-818-841-5500 or sales@comcoinc.com to place your order.
3. Turn the abrasive blend knob too far.
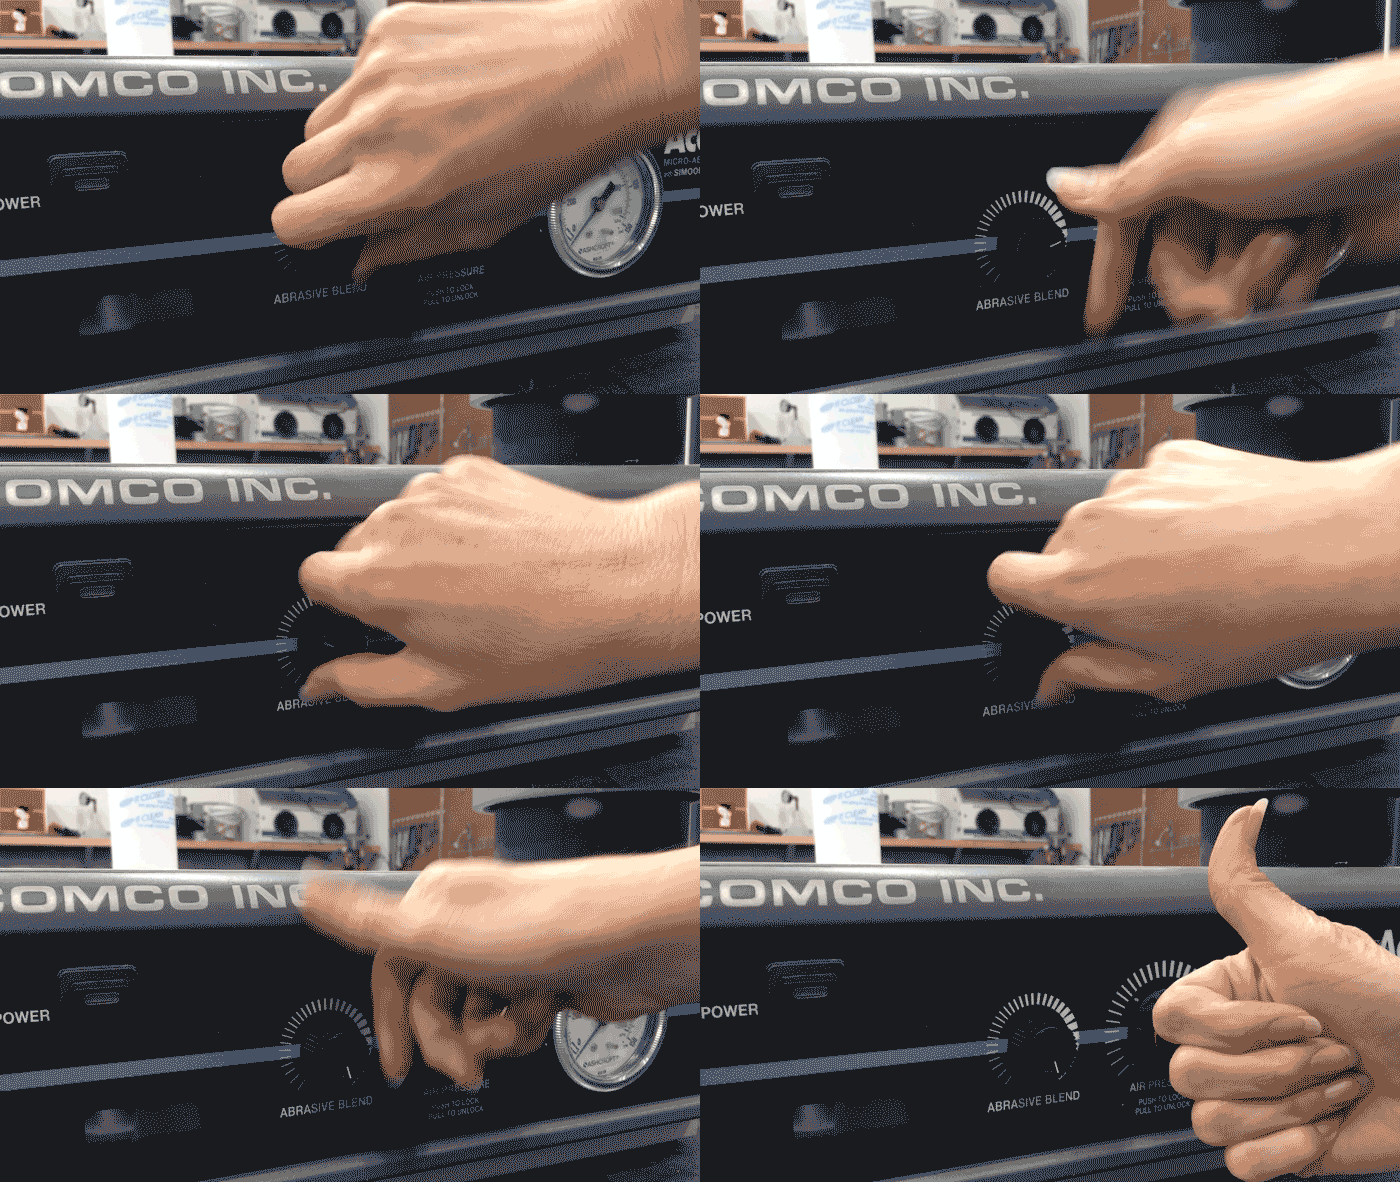
General recommendation: Turn the abrasive blend knob clockwise until it feels tight. Leave it here. This is the maximum position.
Every blaster is configured to a specification. This means the tank orifice, the nozzle, and the blast pressure have been carefully selected for the application. The abrasive blend valve should sit fully closed, which happens when the knob is in the max position. This allows the most amount of abrasive to flow through your blaster. The amount of abrasive in the air stream is ultimately determined by the tank orifice, where abrasive enters the air stream.
Potential Damage
There are two ways to ‘break’ this feature on your blaster:
1. Over-tightening the knob: The knob is a multi-turn knob that can be turned up to 7 full revolutions. It has a hard stop at the max position, but the needle valve seals against an O-ring so there is slight give, allowing a good seal to be created. Forcing the knob past the max position with a pair of pliers does not increase the volume of abrasive. Bending the stem, stripping the threads, or breaking off the knob while trying to force it past this hard stop requires factory service to repair.
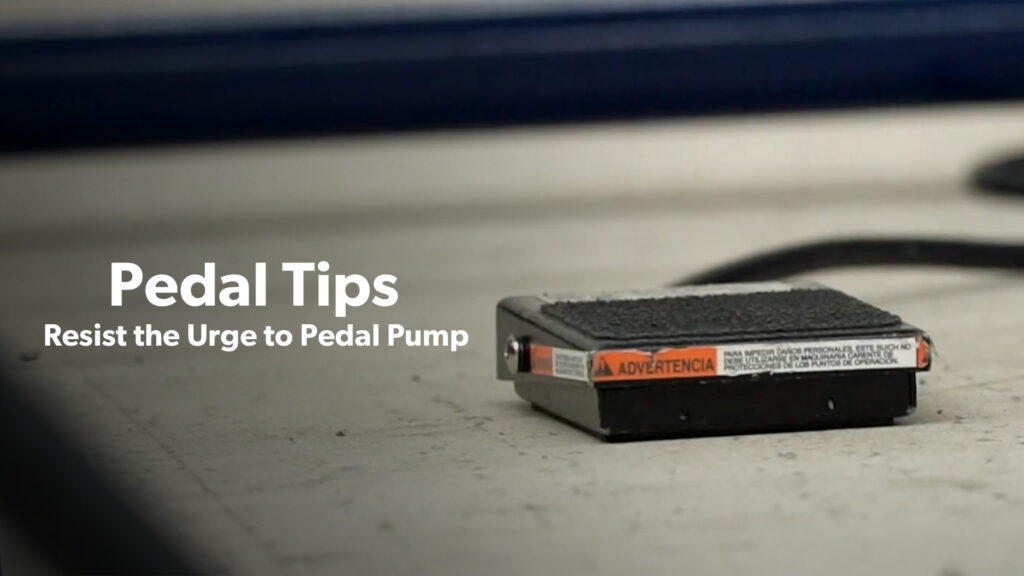
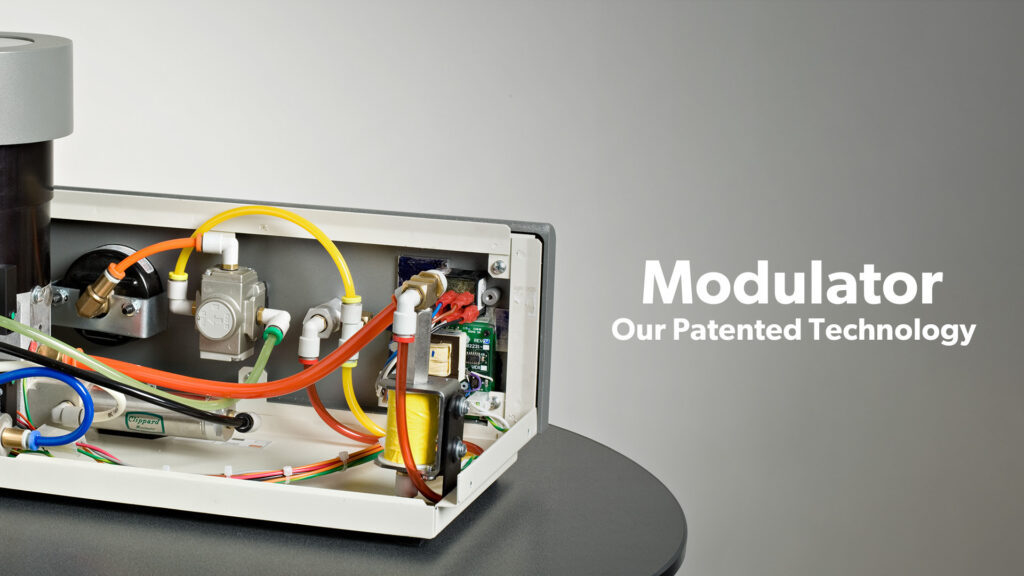
2. Turning the knob too far counterclockwise: This action opens the valve and reduces the air flow through the modulator. Reducing the air flow decreases the strength of the modulator pulses. Abrasive may still appear in the air stream, but it is only there due to gravity and suction and eventually trickles off. Turning the knob too far counterclockwise results in a loss of time and productivity. The abrasive stream produced is usually so weak and irregular that it creates an uneven surface finish on the targeted part. Operators also tend to pump the footswitch to compensate for the weak abrasive flow, accelerating wear on the machine.
What to do instead?
First, set the abrasive blend knob at the maximum position:
- If the knob feels tight when you attempt to turn it clockwise, stop! Do not over-tighten it. The knob is already in position. Leave it here.
- If the knob feels loose and easily turns in either direction, then it is not in the maximum position. Turn the knob clockwise up to 7 revolutions until it feels tight. Leave it here.
Then, make the following adjustments to your blaster as needed:
- For more abrasive in the air stream, change the tank orifice.
- For a lot less abrasive, change the tank orifice.
- For just a little less abrasive, turn the abrasive blend knob counterclockwise 1/2- 3 revolutions. No more.
Need a Calibration Cap?
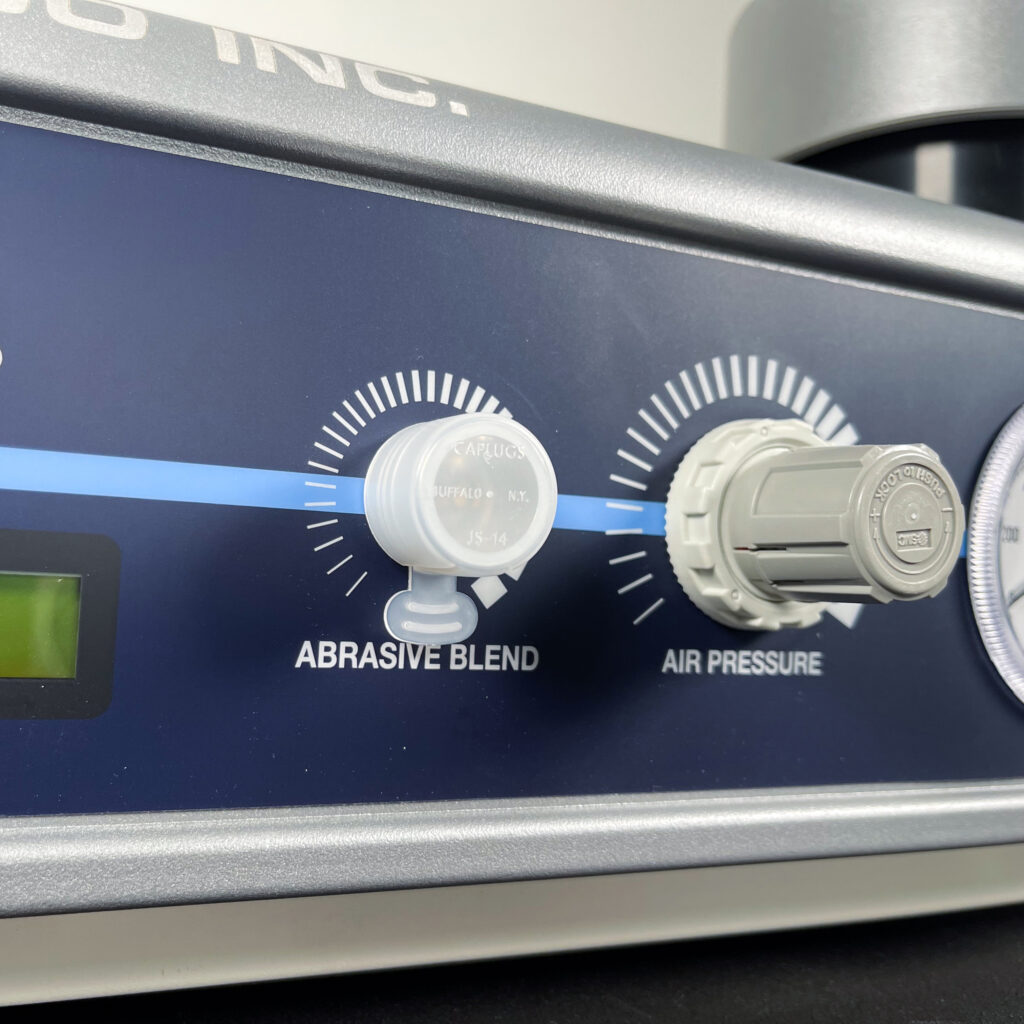
If several operators alternate use of your blaster, and you see a difference in abrasive flow between users, then a calibration cap is a good idea. A calibration cap locks this knob into the maximum position and reduces variability operator to operator. Contact Customer Service at sales@comcocinc.com or 1-818-841-5500 to order: MB1633-2 Calibration Cap Conversion Kit.
Update: From 2024 all AccuFlo models are shipped with a calibration cap.
4. Allow moisture and oil to invade.
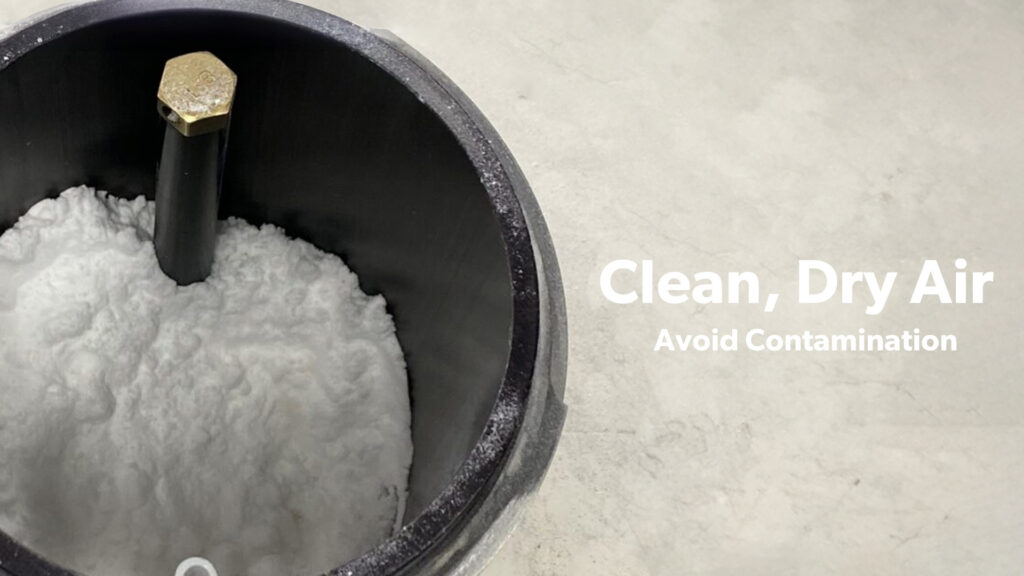
Micro-abrasive blasting relies on clean, dry air. Moisture and oil wreak havoc on blasting systems, primarily because the damage is hard to spot until it is too late.
Moisture and oil enter your system when you:
- Fail to regularly service your air compressor
- Blast without a quality air dryer or forget to change the desiccant regularly
- Store abrasive improperly
Potential Damage
Abrasive clumps inside the blaster at key transition points, clogging the air and abrasive stream. Oil in the air line can lead to check-valve failure which causes abrasive to move backward through the blaster, contaminating the clean-air side of the unit. The result is a costly repair.
What to do instead?
First, read the post, “Moisture Contamination: The importance of a clean, dry air supply.” Follow the directions on that page. And don’t forget to:
- store your abrasive in sealed containers. Remove abrasive from the tank when you are done blasting.
- add an oil filter to your compressed air line. Service your air compressor regularly.
- make sure that your air dryer is rated down to -25°F dew point with sufficient airflow for your application.
5. Create a pressure imbalance.
We addressed this recently, but it’s worth repeating to help you avoid a costly repair. When the house air pressure drops below the air pressure in the abrasive tank, a pressure imbalance forms that sends abrasive backward through your blasting system. When abrasive moves backward, it damages sensitive components on the clean air side of the machine.
You can cause a pressure imbalance by:
- disconnecting the airline while the blaster is on.
- turning off the compressor while the blaster is on.
- failing to keep at least a 10 psi buffer between the house air pressure and the blast pressure. (ex: If house pressure is 90 psi, blast pressure should be no more than 80 psi.)
If you haven’t read the post “Prevent Abrasive Contamination,” do so. Print out the reminder at the end of the post and place it near your blaster as a reference for other operators.
Applications Lab
Let our experts help find the right solution for your part. We know no two applications are the same. Our Technical Specialists manage sample-part testing and processing from start-to-finish. They actively collaborate with our Sales and Engineering Teams while remaining completely accessible to you throughout the process.
