Maintenance & Troubleshooting
How to Change Abrasive in a Comco Blaster
Do you ever need to change abrasive? Swapping out one type of abrasive for another is a quick and easy process. It just requires thorough cleaning. Your goal is to remove any trace of one media before blasting with another.
Here’s a how-to guide that will ensure optimal blaster performance and consistent surface finish results following an abrasive switch. The items you need handy are:
- a funnel
- a storage container for the existing abrasive
- a bottle of new abrasive
- a shop vac
- a dry cloth or paper towel
- a wastebasket
- a 9/16″ wrench (for the PowerFlo® and DirectFlo™)
For AccuFlo Users
Yes, you can tip the AccuFlo® to pour out abrasive! It may feel precarious to tip it over, but fear not: all of the outputs and external connections are fixed to the tank side of the unit. These components will not dislodge or jostle loose if you tip the AccuFlo over on the tank side.
Watch the video for guidance or follow the instructions below:
- IMPORTANT! Turn the blaster OFF and allow it time to depressurize. This usually takes about 10-15 seconds. You will create a mess if you try to change abrasive with the blaster powered up or before it depressurizes fully.
- Unscrew the lid of the abrasive tank.
- Unscrew the cap on the existing abrasive’s bottle and place a funnel in it.
- Tip the AccuFlo and pour the abrasive from the tank into the funnel To do so, cradle the abrasive tank with one hand as you lift the other side of the blaster. (If the abrasive has been sitting in the tank for longer than 24 hours, please do not attempt to use it later. Just pour it in the wastebasket.)
- Seal the existing abrasive’s container as soon as possible to prevent moisture contamination. Store the container in a cool, dry location.
- IMPORTANT! Thoroughly clean the abrasive tank, including the tank threads and the tank cover with a shop vac.
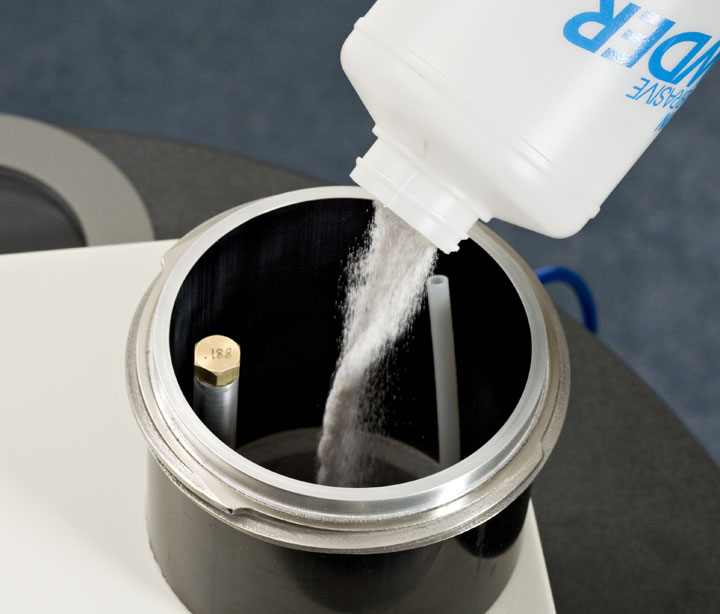
- Unscrew the bottle of new abrasive and pour it into the tank. (No funnel needed.)
- Wipe the tank threads with a dry cloth to remove any stray particles.
- Screw the tank lid on tight to provide a good seal.
You’re ready to blast!
For PowerFlo and DirectFlo Users
Since these larger blasters are heavy and fixed into a position on the production floor, the PowerFlo® and DirectFlo™ micro-precision sandblasters come equipped with a removable tank basket to ease tank cleaning and abrasive changes.
- Depressurize the PowerFlo or turn OFF the DirectFlo.
- Unscrew the swing bolts and allow them to drop to the side. (Use the 9/16″ wrench to loosen the nuts.) Remove the tank lid.
- Uncap the container for the existing abrasive. Place a funnel in the top of the container.
- Lift the removable basket from the abrasive tank. As soon as possible, place your finger at the base of the basket to prevent abrasive from leaking.
- Pour abrasive from the tank basket into the funnel. Use the cutout on the top of the basket to control the abrasive flow.
- Thoroughly clean the tank, the basket, and the tank lid using the shop vac.
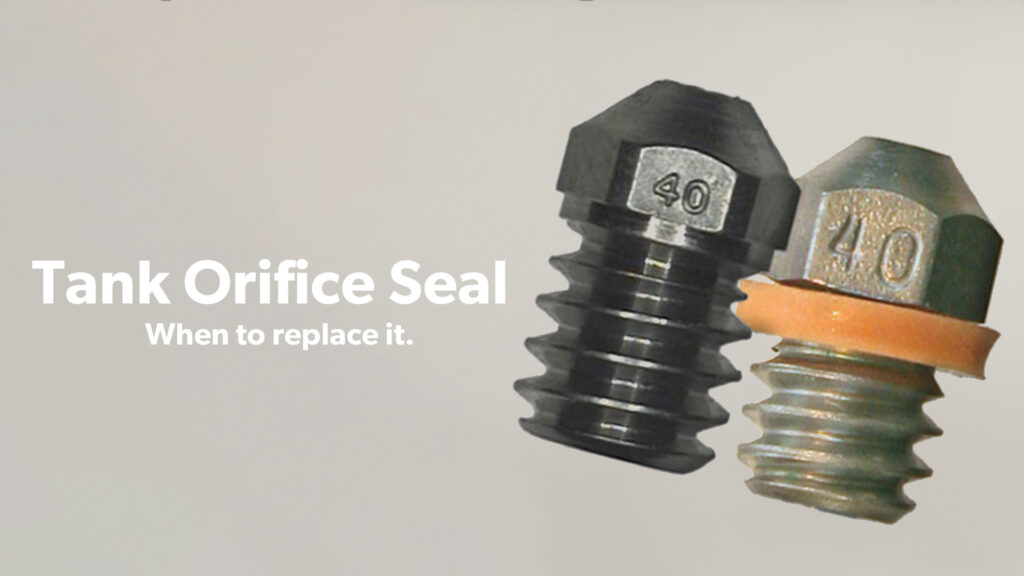
- IMPORTANT! Run your finger around the tank orifice at the base of the basket to remove any residual abrasive. Abrasive can wear down threads.
- Check the O-ring on the outside of the basket, and replace it if worn.
- Slide the clean tank basket securely back into the tank. Wipe the top of the tank basket with a dry cloth.
- Fit the tank lid into place. Make sure the label with the word “BACK” lines up with the notch at the back of the tank.
- Tighten the swing bolts in a criss-cross pattern. This creates an equal pressure in the tank seal and prevents air leakage. Use the 9/16″ wrench to tighten the nuts.
To add new abrasive:
- There’s a pop-top on the top of the abrasive tank. Push the funnel into it.
- Pour new abrasive into the funnel.
- Remove the funnel and wipe away any stray particles on the pop-top surface.
You’re ready to blast!
Don’t Leave Abrasive in the Tank
Are you planning on heading out for holiday or winter vacations? This is also a helpful lesson before you go. Remember! Abrasive left in the tank of an unpressurized (off) blaster for a day or two can absorb enough ambient moisture from the environment to clump. Learn how to prepare your system for extended breaks in our post on moisture contamination.
Applications Lab
Let our experts help find the right solution for your part. We know no two applications are the same. Our Technical Specialists manage sample-part testing and processing from start-to-finish. They actively collaborate with our Sales and Engineering Teams while remaining completely accessible to you throughout the process.
