Maintenance & Troubleshooting
Prevent Abrasive Contamination
Turn off your Comco blaster at the wrong moment, and you may cause abrasive contamination. Don’t worry, abrasive won’t pollute your shop, but it will spread inside your blaster, infecting sensitive components.
We hate to be alarmists, but a customer’s AccuFlo recently fell victim to abrasive contamination for this reason. Their production stopped for a week while our resident “doctors” performed surgery. Here’s the thing: this damage was easily preventable.
It may seem peculiar that a machine designed to move abrasive could suffer from such a malady. But, to understand why abrasive contamination happens, you must understand the machine’s design. Let’s look at where abrasive is allowed to flow inside your Comco blaster. Then, we’ll look at where abrasive should not go, and how you can keep your blaster healthy and happy for years to come.
Two Sides to Every Blaster
Your Comco micro-abrasive blaster has two sides: a “clean air side’ and a “dirty air side”. Anything sensitive to abrasive contamination sits pristinely on the “clean air side” of the blaster. For example, the regulator that monitors air pressure and the controls that manage the PowderGate or pinch valve live on the clean side.
The “dirty air side” is designed to withstand the erosive effect of abrasive. The components on the dirty side are either built to traffic abrasive or accommodate occasional fugitive particles. The abrasive tank, the mixing chamber, the abrasive hose, and the nozzle comprise most of the “dirty air side”.
You know how beach sand seems to sneak into well, everything? Well, micro-abrasives are finer than beach sand, and thus, more likely to sneak into tight crevices. Micro-abrasives can be as fine as moondust and as hard as diamonds—a killer combo for sensitive machine components.
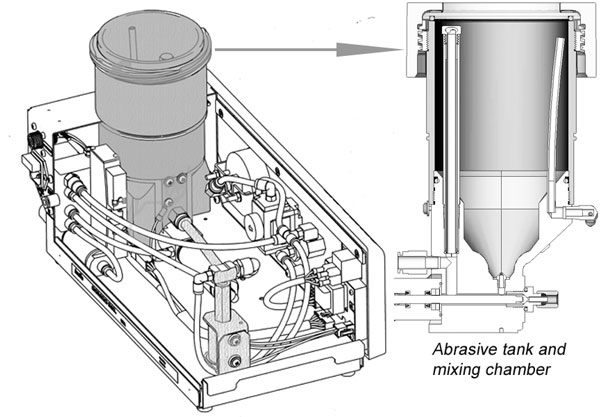
The “dirty air side” of any Comco blaster is designed to traffic abrasive (dark grey) or accommodate an occasional wayward dust particle (light grey). The “clean air side” (unshaded) should remain free of abrasive.
The flow-path for abrasive in a Comco blaster is hard-plumbed, and 99.9% of abrasive particles move in one direction from the tank to the nozzle. We do not anticipate abrasive reaching the modulator; however, in order for it to work properly, it has to have a direct and open connection to the tank and mixing chamber. Therefore, the modulator and the path from the modulator to the tank are designed to withstand the occasional stray particle.
The dirty air side and the clean air side are well-protected from one another. General physical barriers—including a check valve and a filter—provide sufficient blockades as long as air pressure remains balanced.
Incorrect Depressurization Causes Contamination
Our older model MicroBlasters required two separate steps for powering down the blaster and depressurizing its abrasive tank. As a result, proper depressurization was often overlooked.
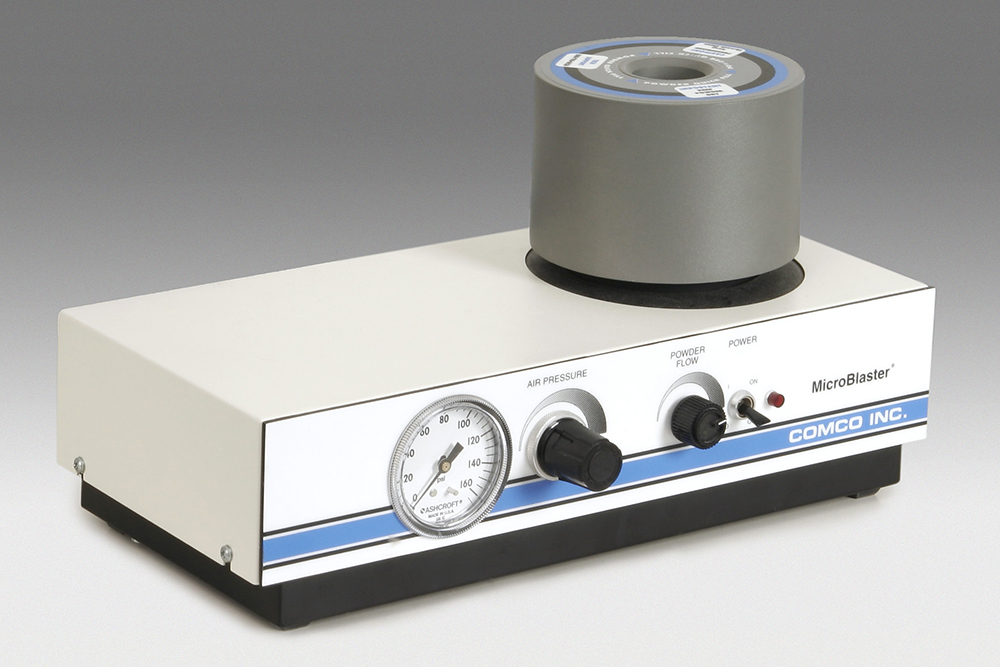
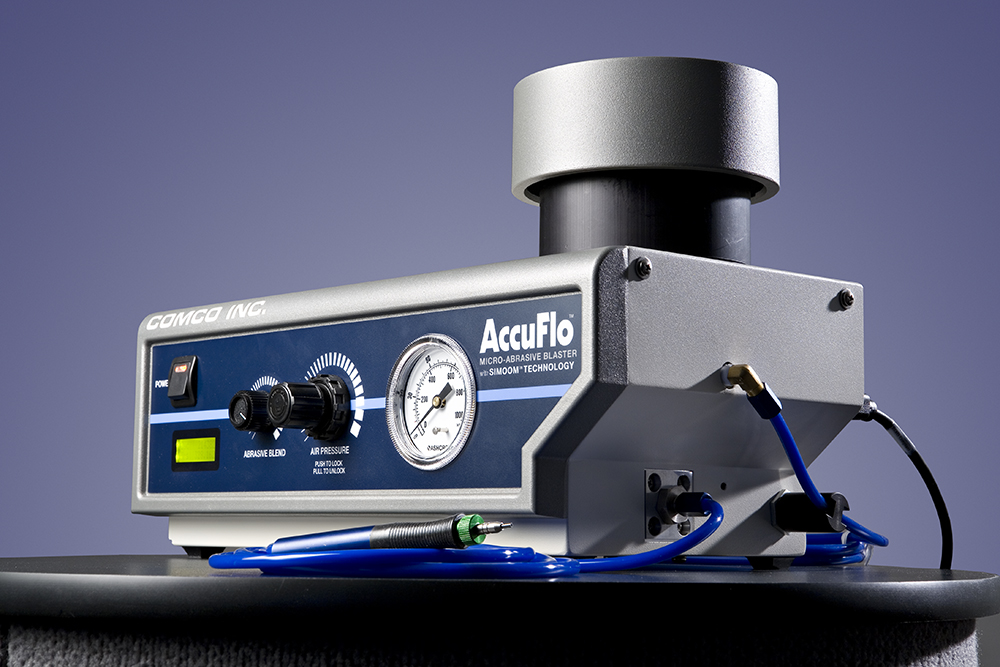
In the mid-2000s, we reduced the opportunity for operator error by integrating the tank depressurization control into our blaster’s power switch. Since then, turning the power control to off automatically vents our blasters.
Even with this design change, operators still have to make sure that the house air pressure or the pressure in the supply air line is higher than the abrasive tank’s pressure. The abrasive tank pressure is also referred to as ‘the blast pressure’ which is indicated on the regulator. In any Comco blaster, a low-pressure region forms when the house air pressure drops below the air pressure in the blaster’s abrasive tank. This imbalance pulls abrasive en masse backward from the tank and through design barriers. Like most machine components, the check valve and the seal have limits and getting pummeled by a lot of harsh abrasive is one.
What Actions Cause a Pressure Imbalance?
(Hint: Check your shutdown process.)
Abrasive contamination usually falls under operator or facility error. A pressure imbalance is created when:
- the air line is disconnected from the back of the blaster while the blaster is on.
- the compressor is turned off while the blaster is on.
- the compressor cycles below blast pressure.
Symptoms of Abrasive Contamination
If your blaster falls victim to abrasive contamination, it will cease to function well. Here are some tell-tale symptoms:
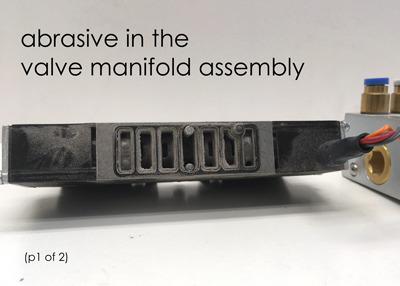
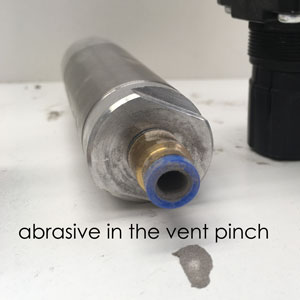
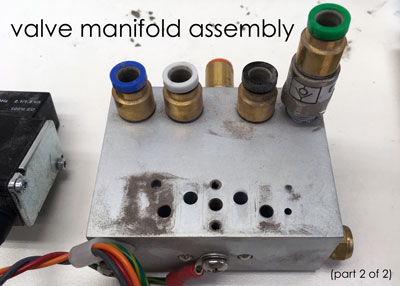
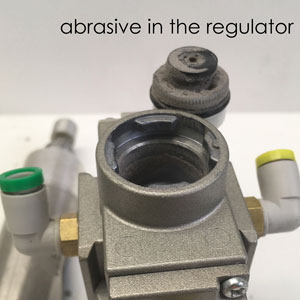
- Abrasive appears in the regulator, the valve assembly or pinch cylinders.
- The pinch cylinder ceases to respond to the foot switch. (The pinch cylinder or PowderGate does not activate when the footswitch is pressed. The pinch/Powdergate does not close properly when the footswitch is released.)
- The pressure refuses to adjust.
- The inlet valve bleeds air.
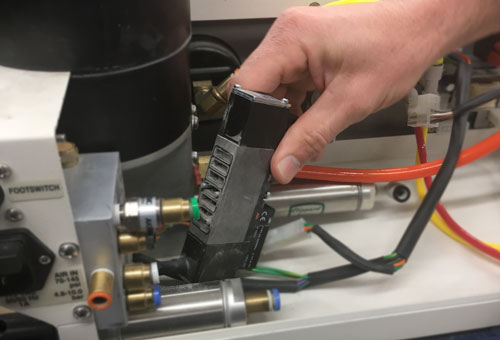
The unit pictured here sat powered on over a weekend while the facility’s air compressor was turned off. The resulting pressure imbalance sent abrasive backward through the blaster, clogging and damaging essential components on the “clean air side”.
How You Can Prevent It
Prevention is worth a pound of cure, or in this case, worth a week or two of downtime for repair. You can avoid creating a pressure imbalance by:
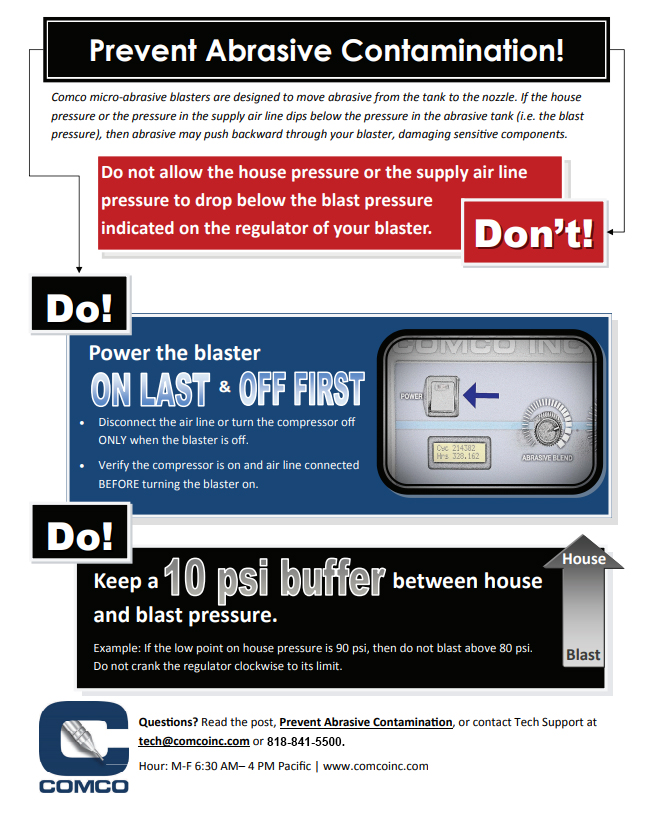
- Turning the blaster on last and off first.
- Disconnecting the airline or turning the compressor off ONLY when the blaster is off.
- Verifying the compressor is on BEFORE turning the blaster on.
- Keeping a 10 psi buffer between house pressure and blast pressure. For example: if the low point on your house pressure is 90 psi, then do not blast higher than 80 psi. Do not crank the regulator all the way clockwise.
Keep a Reminder Handy!
Here’s a helpful reminder to share with operators or post near your blaster.
Applications Lab
Let our experts help find the right solution for your part. We know no two applications are the same. Our Technical Specialists manage sample-part testing and processing from start-to-finish. They actively collaborate with our Sales and Engineering Teams while remaining completely accessible to you throughout the process.
