Maintenance & Troubleshooting
Using Sodium Bicarbonate… Read This.
The Go-To Abrasive…
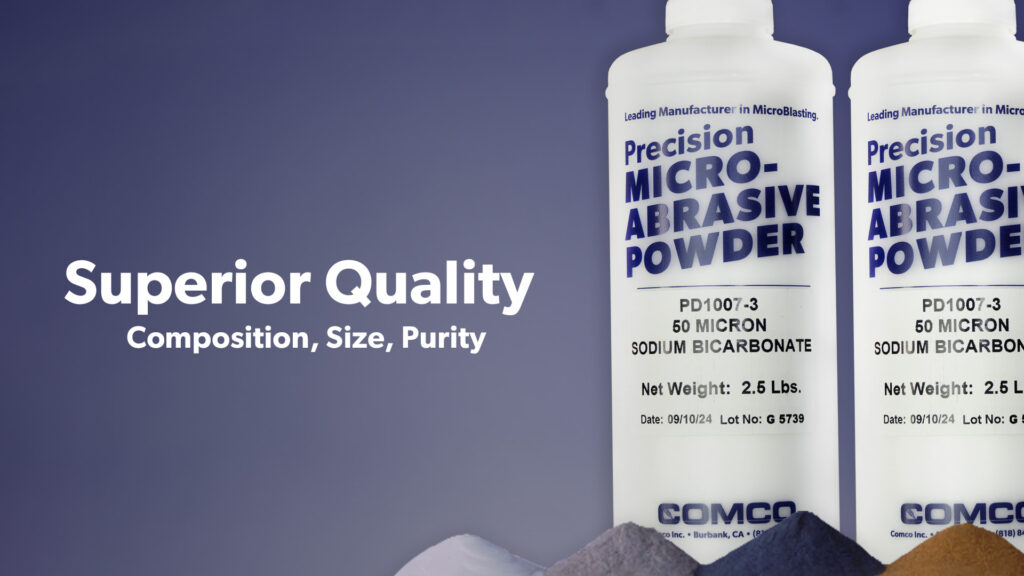
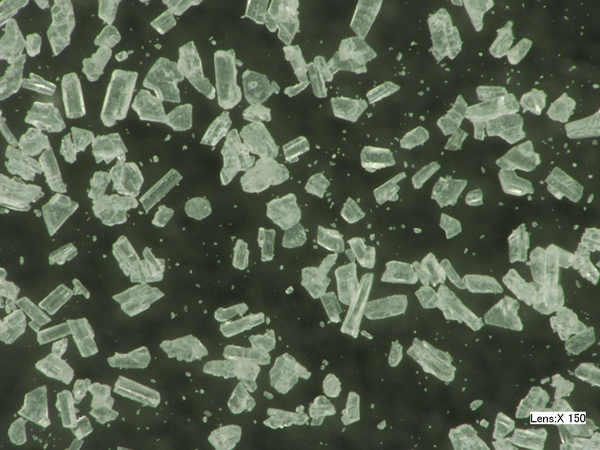
Thanks to its particles’ monoclinic shape, sodium bicarbonate easily abrades pliable materials without damaging delicate underlying layers and components. And, sodium bicarbonate is water soluble, which makes for easy post-blasting clean-up.
…That is almost perfect
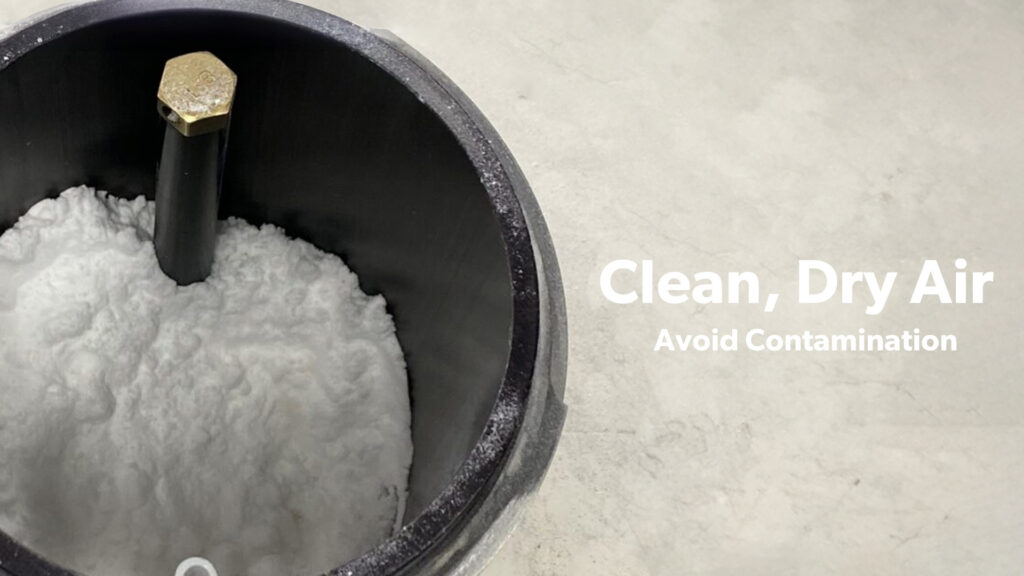
Sodium bicarbonate comes with one small annoyance: build-up. Most abrasive media gradually erodes a blaster’s mixing chamber, output fittings, nosepiece, and nozzle.
What does build-up look like?
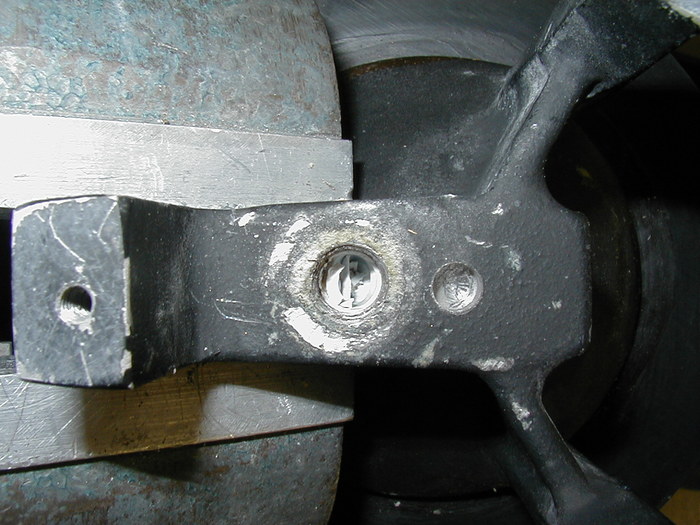
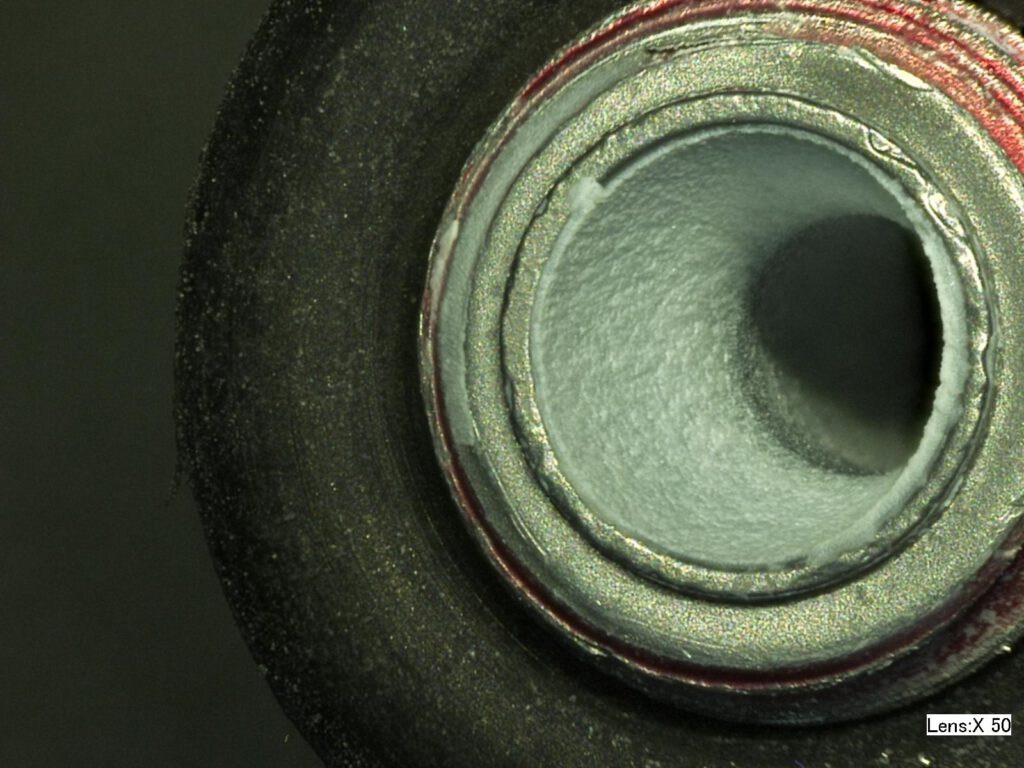
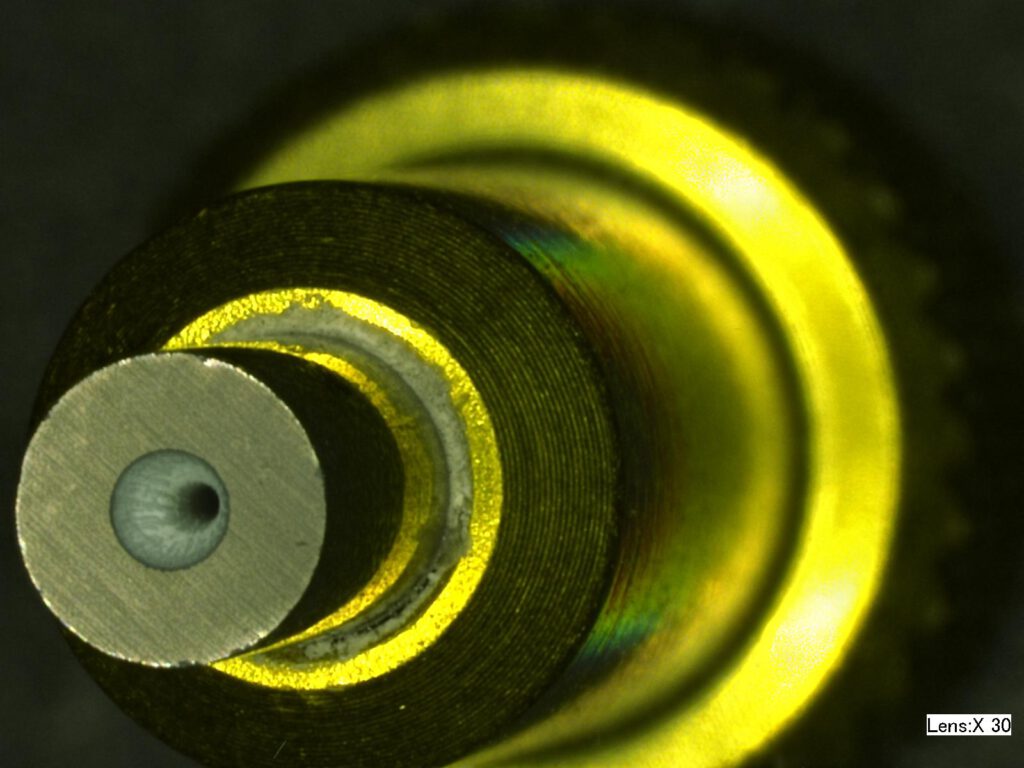
Sodium bicarbonate plates at transition points, like: (left: the bottom of MicroBlaster’s mixing chamber; middle: the inlet side of the nozzle (0.060″ pictured) and right: inside the tip of the nozzle (0.046″ pictured).
So, what do you Do?
Keep a close watch on the abrasive mixture exiting the nozzle. Noticeable reduction of abrasive in the air stream is the best indicator that plating is underway.
Particles tend to plate at four transition points inside the blaster. Clean these points thoroughly. Like plaque, build-up attracts build-up. If any residue remains, the rate of build-up increases, shutting down the system again, only quicker.
*Water vs. Vinegar: Water dissolves sodium bicarbonate, but at a slower rate than vinegar.
Alcohol: Alcohol does not dissolve sodium bicarbonate. Submerging in alcohol or using alcohol wipes to clear build-up is an exercise in futility.
Don’t Cut the Hose!
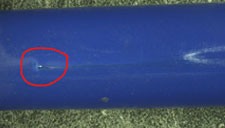
All abrasive—including sodium bicarbonate–wears through the hose that connects the handpiece to the blaster
In an attempt to garner full use of the hose, most operators chop off sections where holes develop and reattach the shortened, seemingly good hose. Unfortunately, a visible hole is a red flag that other regions of the hose are thinning. Predicting when these worn spots will erupt is impossible, but Murphy’s Law states that it will happen at the least opportune time.
Reduce downtime (and frustration) by checking the abrasive hose regularly; keeping an extra hose in stock, and replacing the entire hose at the first major sign of wear.
Applications Lab
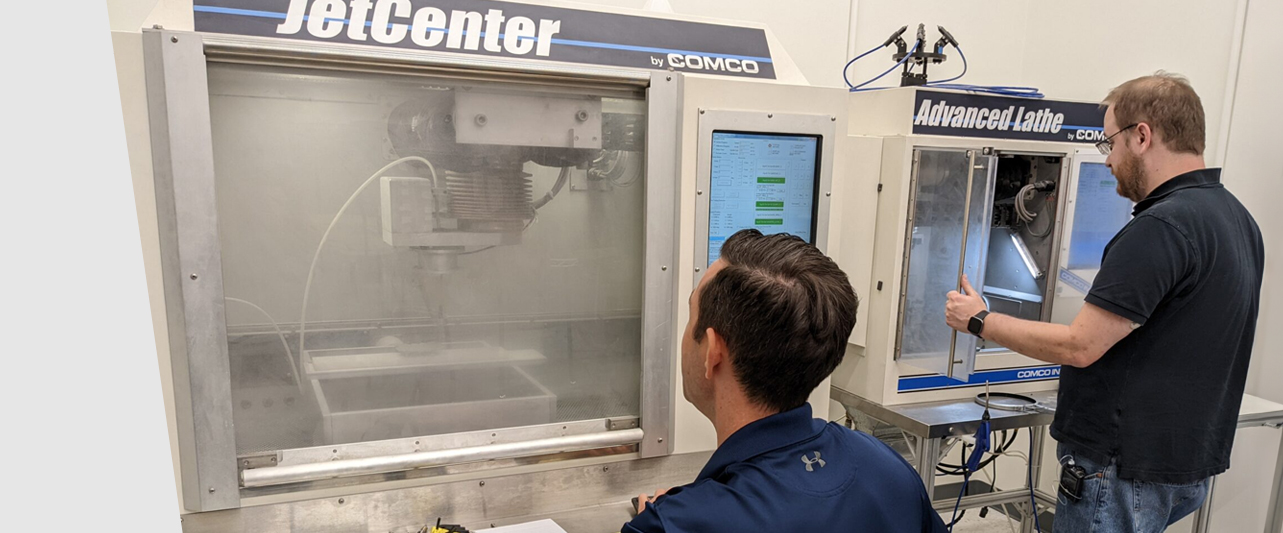
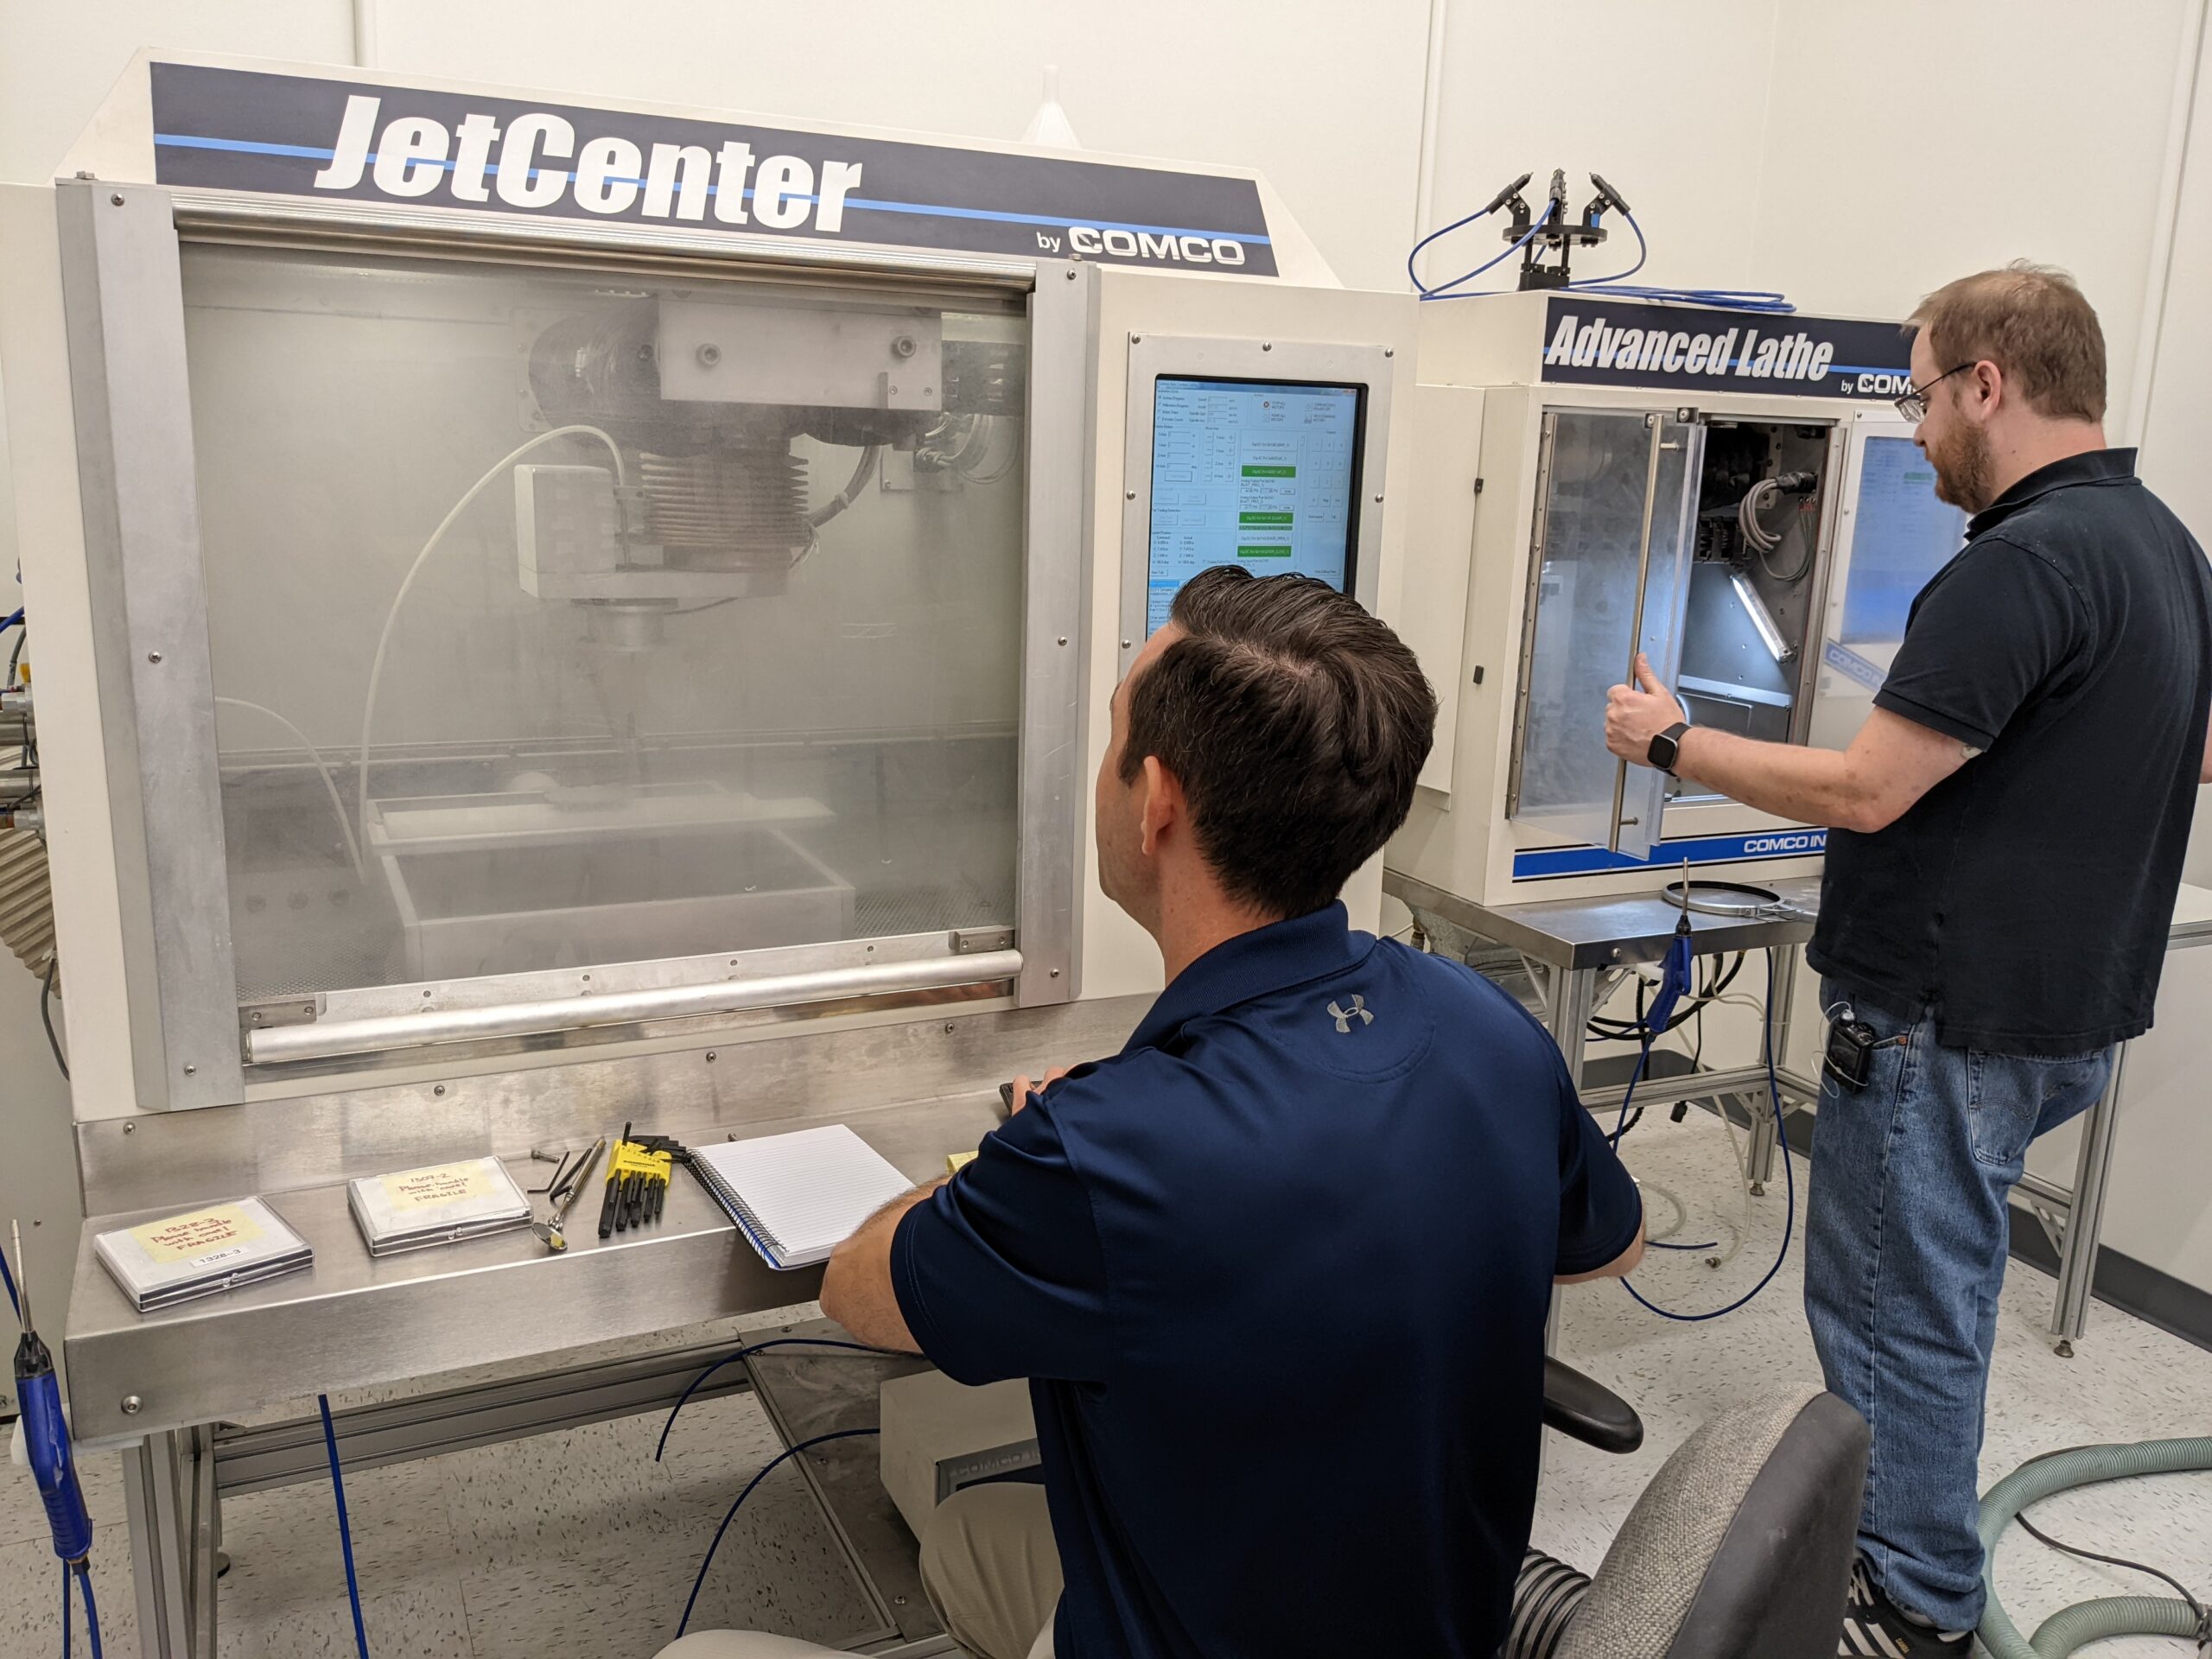
Let our experts help find the right solution for your part. We know no two applications are the same. Our Technical Specialists manage sample-part testing and processing from start-to-finish. They actively collaborate with our Sales and Engineering Teams while remaining completely accessible to you throughout the process.

Abrasives include: PD1007-3, PD1007-25, PD1031-3, PD1031-25

